
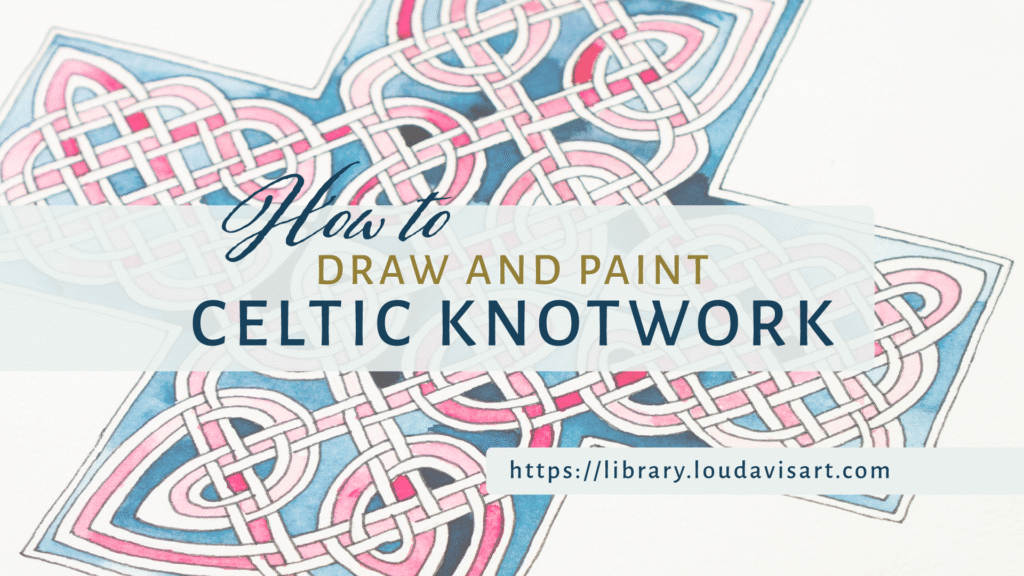
Over the course of 6 modules, you’ll learn to draw and decorate intricate Celtic interlacing, such as can be found in ancient manuscripts like the book of Kells and the Lindisfarne Gospels.
As you follow through the projects in each session, you’ll learn the fundamentals of knotwork, not only being able to replicate the knots found in this course, but being able to analyse panels of knotwork so that you can replicate them and you’ll be able to devise your own without references.
The projects we’ll be undertaking during this course will be completed in pen and paint on paper, but the applications of this course could be applied to any decorative art including metalwork, pottery and textiles.
In a bonus level, you can learn some techniques for embellishing your knotwork with gold.
You can find out more about Lou here!
You’ll find all the course content on this page. The course is made up of pre-recorded videos in six sections (plus the intro and bonus section). Each section contains a number of lessons.
The first lesson, or lessons, in each section will show how to draw the Celtic knots and we cover several knots during the drawing phase of each section.
In the final video in each section, I choose one knot to make a finished piece from and that will be a watercolour project, sometimes using pen too. I’ve tried to show you different techniques throughout for achieving different results with your projects and of course, you can decorate your knots in any medium you like. I’m really looking forward to seeing what you create.
You’ll find files throughout the course that I’ve created to speed up the process of drawing knots. These are grids and circular forms that make up the underlying structure of each knot. You’ll find all the downloadable reference materials you’ll need for the course on this page and on every lesson page.
There is a forum attached to this course where you can share your work, in progress and completed projects, ask any questions and share further Celtic Art resources.
Do mark each lesson as complete as you work through the course in order to update your progress!
Click the buttons below to download the grid files that I use in the videos. You’ll find small dots, these are spaced around 5mm, large dots are spaced approx 10mm and the alternating dots have a primary grid of 20mm with secondary (lighter) dots in the centres of the spaces.
These files are not ones I used in the videos but created them because you may find them helpful when constructing your knots. There is a grid file with all the diamond markings laid out on a full sheet. There are also two circular designs divided up into 24 or 32 segments.
Finally, there is the tools and supplies list for the course.
Visit the community thread for this course on the forum and share your finished paintings or work in progress with everyone.
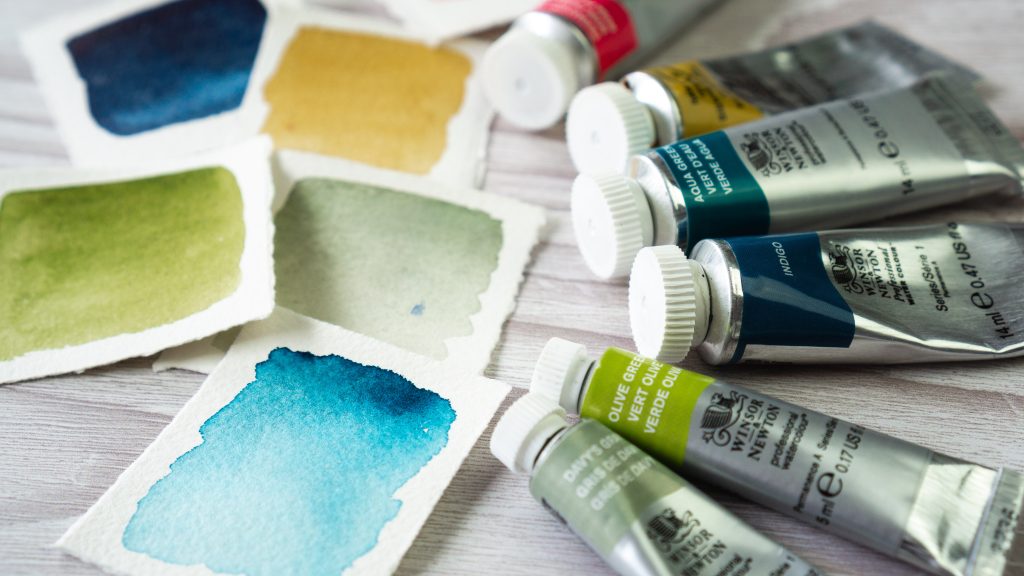
In the introductory section, you’ll get an overview of everything that’s coming up in the course, an introduction to Lou and we’ll talk about what supplies you’ll need to complete the course.

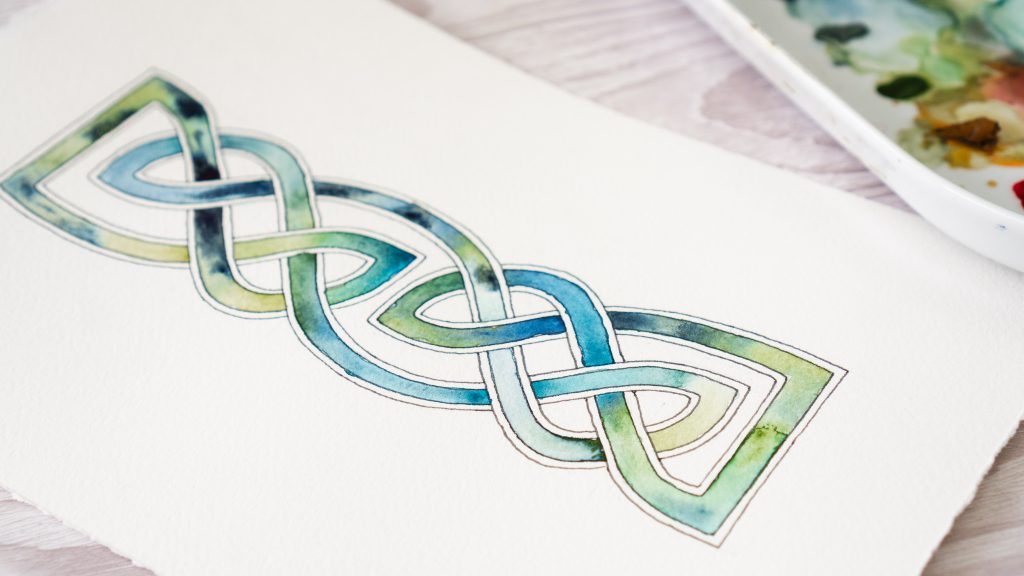
In the first section, we’ll get an introduction to the grid system that underlies most celtic knots and we’ll draw several practice knots before creating a final rainbow celtic knot in pen and watercolour.
We’ll use the knowledge we gained in the first section to create some celtic knot borders, this time adding break lines to spice up our patterns. We’ll learn the eight basic knot forms and draw each of them before choosing one to paint for this section’s project.
In this section, we will create larger panels of knotwork and we’ll explore how to make our knots look more intricate and delicate using the double interlacing technique. In our project for this section, we create a square panel of knotwork in watercolour with a double interlaced effect.
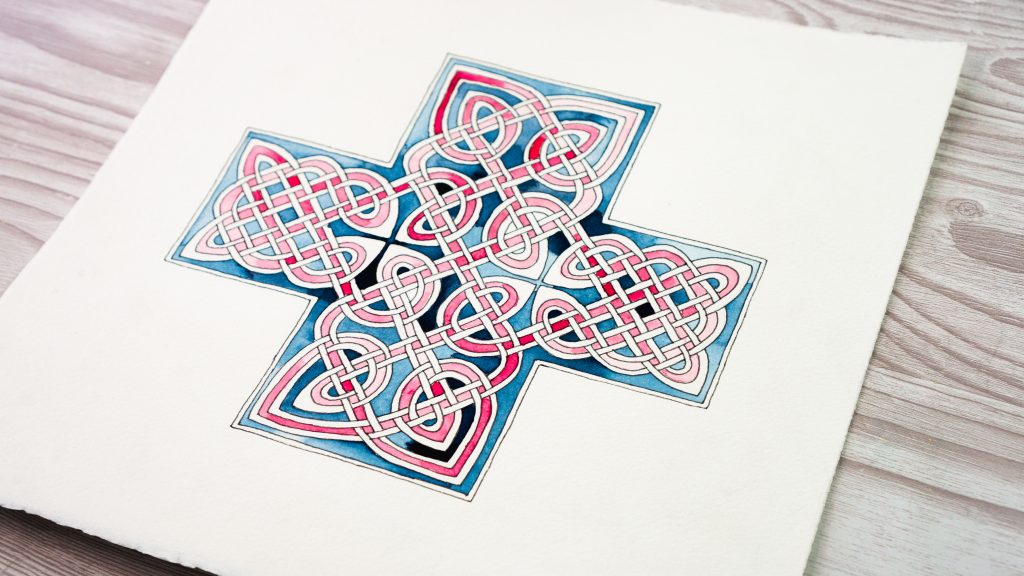
In this section, I show you how to take a celtic knot you’ve found in the wild (e.g. on a stone cross or in a manuscript) and work backwards from the pattern you have found to a simple framework that you use to replicate the original or even to build upon it. We’ll practice with a number of example knots before choosing our favourite to paint as a final project for this section.
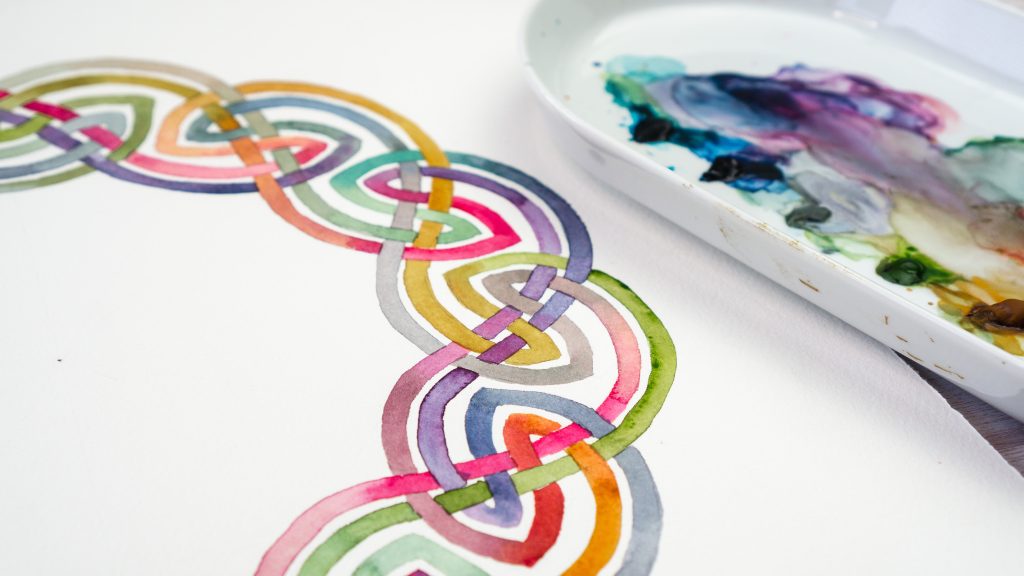
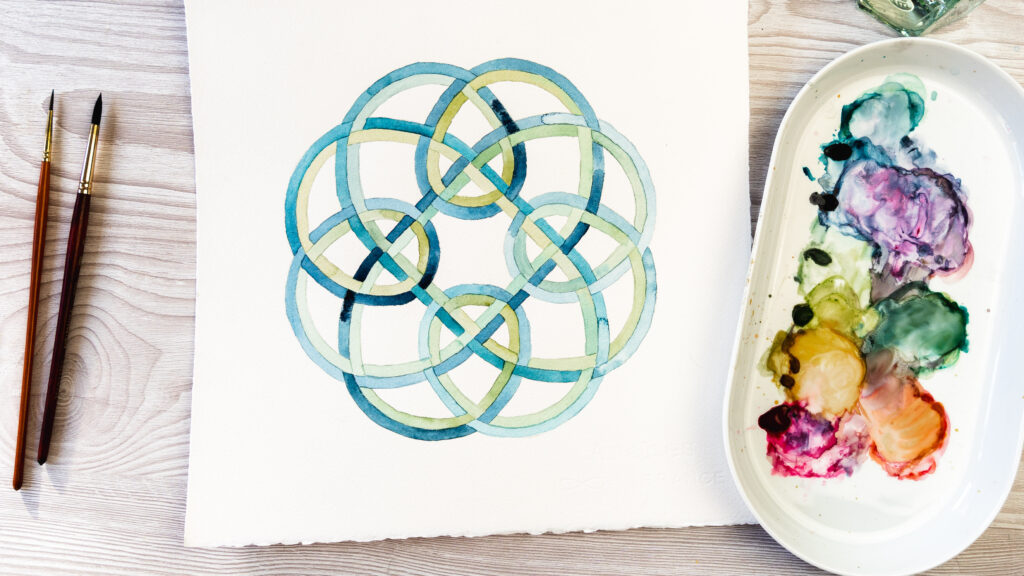
Up to now we’ve been working with knots in square or rectangular panels. In this section, we look at knots that take circular or organic forms and design knot patterns that fit those forms. Our final project for this section will be a circular knot panel painted in watercolour.
In this module, we look at the recent history of designing knots and the methods that different artists have employed in order to replicate ancient knots and create new ones.
We compare those methods with the one used in this course so that you can translate methods and use the resources that are available in other artist’s books.
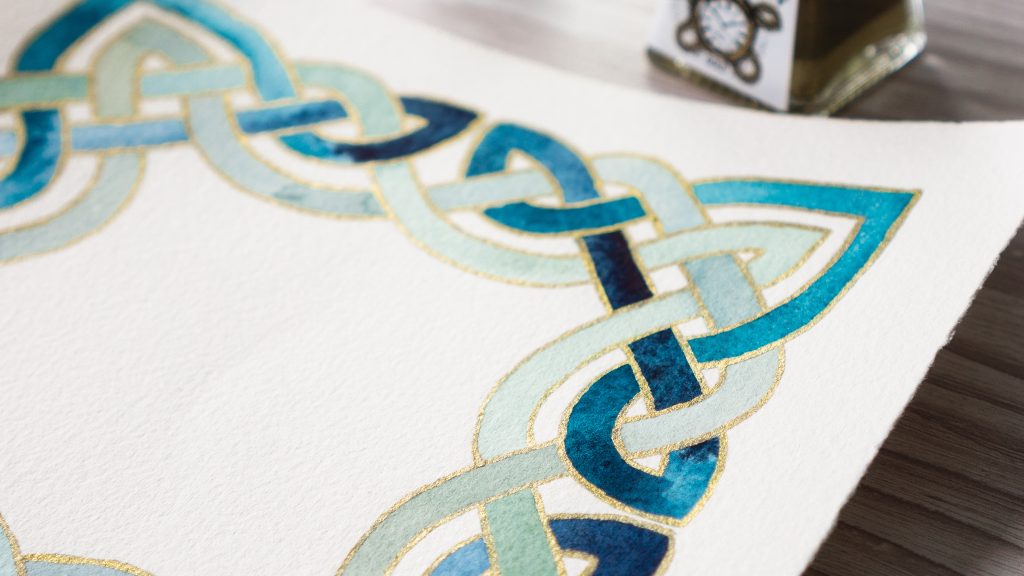
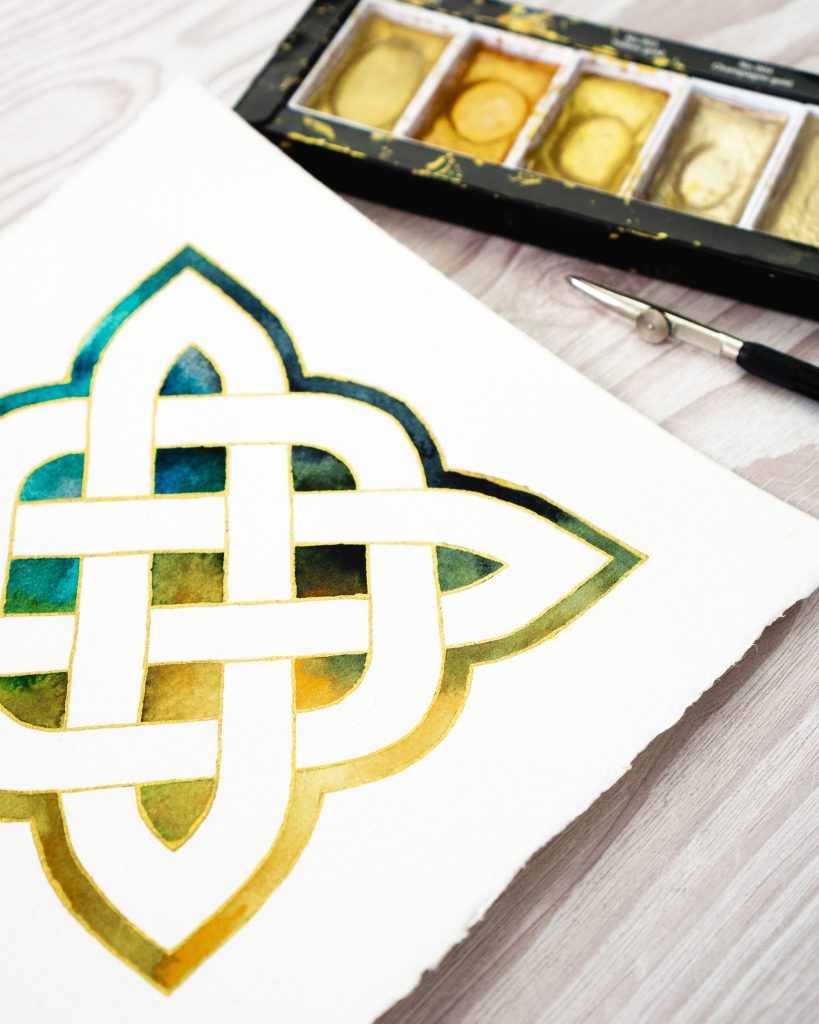
In a bonus section, we look at some methods of adding decoration to our knotwork – in particular adding metallics! I’ll share some pens, inks, paints and methods of adding gold leaf to finish your artworks.
You must be a Draw and Paint Celtic Knotwork member to access this content.